Overview
This tutorial is now based on your uploaded Jupyter notebook Testing_for_AicodeSchool.ipynb. It demonstrates multiple ways to load an image, prepare it for MobileNetV2, run inference, decode ImageNet predictions and explain the final result. You can later replace the sample images, code and notebook download with your final polished project files.
data/tutorials.ts. Change the title, text, images, Python code, YouTube link, and download link there.What you will learn
- Load an image using IPython display, Keras preprocessing, OpenCV and PIL
- Resize images to the 224 × 224 input size required by MobileNet/MobileNetV2
- Convert an image to a NumPy array and add the batch dimension
- Apply MobileNet preprocessing and run deep-learning inference
- Decode ImageNet predictions and explain the predicted class and confidence
Suggested tutorial flow
Import libraries
Import TensorFlow, NumPy, Matplotlib, OpenCV and PIL according to the loading method used in the notebook.
Load image using different methods
Compare IPython display, Keras image loader, OpenCV and PIL image loading workflows.
Preprocess image for MobileNetV2
Resize to 224 × 224, convert to an array, add batch dimension and apply MobileNet preprocessing.
Predict and decode result
Run MobileNetV2 prediction and decode top ImageNet classes using imagenet_utils.decode_predictions.
Explain results
Discuss the top prediction, confidence score and how to replace the sample image with your own data.
Text explanation template
Introduction
This tutorial explains image recognition using a pre-trained MobileNet/MobileNetV2 deep-learning model. It is based on your actual Jupyter notebook, where images are loaded, resized, preprocessed and passed to a pre-trained ImageNet model.
The tutorial is written as a reusable template: you can replace the current sample images and code with final screenshots, results and cleaned code later.
Required libraries and setup
The notebook uses TensorFlow/Keras for the deep-learning model, NumPy for numerical processing, Matplotlib for visualization, OpenCV for image loading and PIL for another image-loading option.
- tensorflow
- numpy
- matplotlib
- opencv-python
- Pillow
Notebook workflow
The notebook starts by loading an image in multiple ways, then loads a pre-trained MobileNetV2 model, preprocesses the image into the required format and finally decodes model predictions into human-readable ImageNet labels.
- Load image from file
- Resize to 224 × 224
- Convert image to array
- Expand dimension to create batch shape
- Apply MobileNet preprocessing
- Predict and decode classes
Actual prediction result from notebook
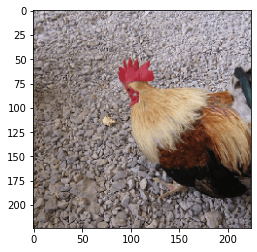
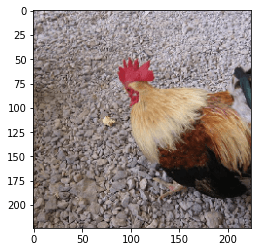
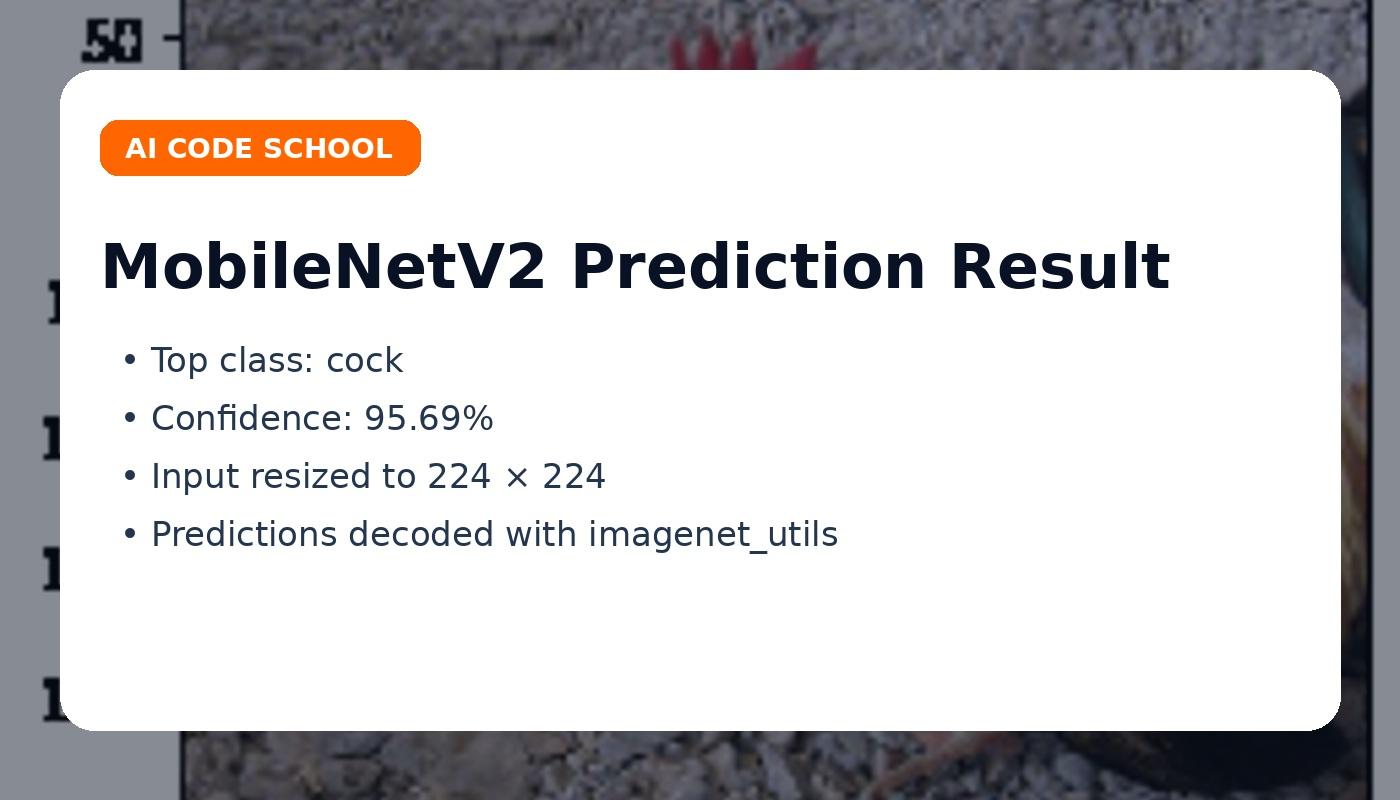
For the rooster image, the notebook decoded the top MobileNetV2 prediction as cock with confidence approximately 0.9569. Other predictions included hen, partridge, llama and vulture.
- Top prediction: cock
- Confidence: 95.69%
- Model: MobileNetV2
- Decoder: tensorflow.keras.applications.imagenet_utils.decode_predictions
How to update this page later
Replace the images under public/images/tutorials/results/ with your own screenshots. Replace the code blocks with your cleaned notebook code. Replace the download ZIP with your final source code package and update videoUrl with your exact YouTube video link.
Images, screenshots and results
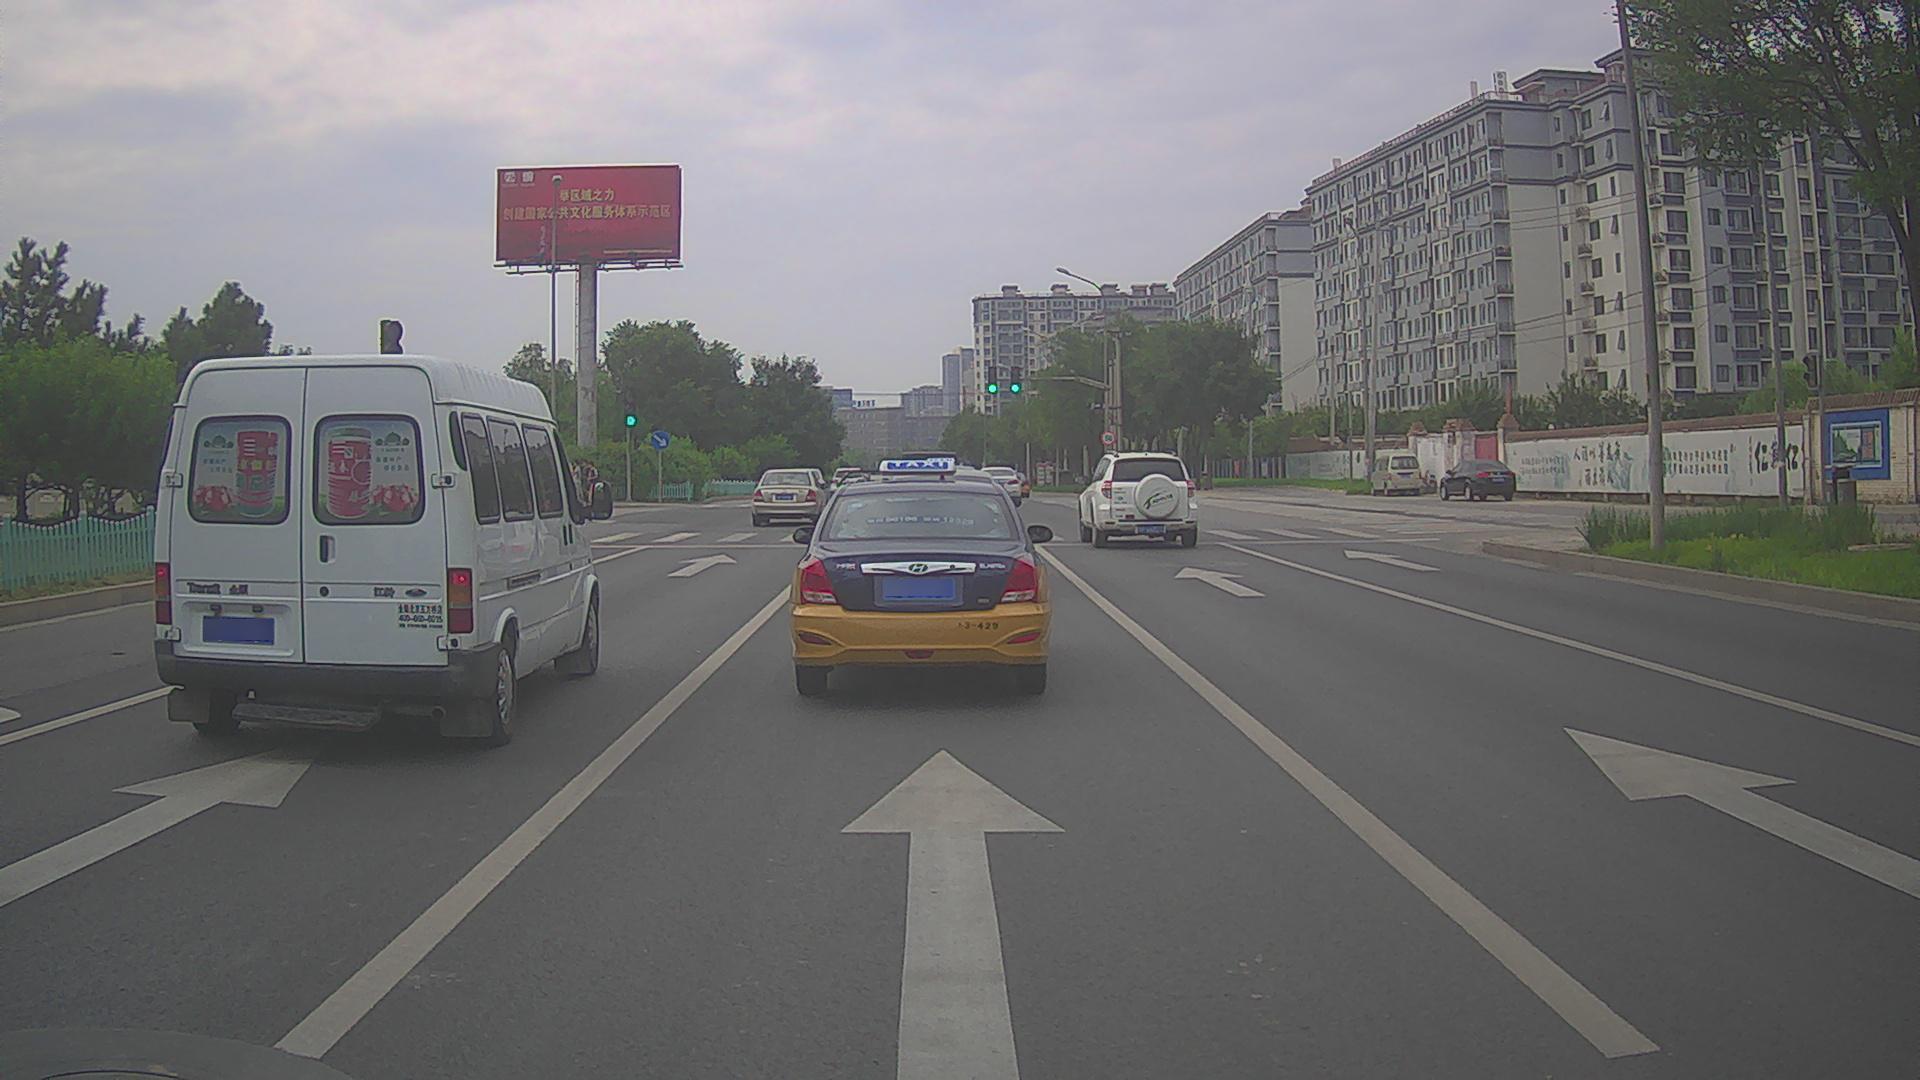
Add your result screenshots, graphs, model outputs, detected objects, confusion matrices, or interface snapshots here.
Python code explanation
Use one or more code blocks. After each block, explain what the code does in simple teaching language.
Step 1: Import libraries and define image path
import tensorflow as tf  # pip install tensorflow
import numpy as np       # pip install numpy
import matplotlib.pyplot as plt

filename = 'image_data//000031.jpg'
This block imports TensorFlow and NumPy and defines the path of the image that will be loaded. Matplotlib is used later to display the image inside the notebook.
Step 2: Load image using Keras preprocessing
from tensorflow.keras.preprocessing import image

img = image.load_img(filename, target_size=(224, 224))
plt.imshow(img)
Keras image.load_img reads the image and directly resizes it to the 224 × 224 size expected by MobileNet/MobileNetV2.
Step 3: Load image using OpenCV
import cv2  # pip install opencv-python

imgg = cv2.imread(filename)
imgg = cv2.resize(imgg, (224, 224))
plt.imshow(cv2.cvtColor(imgg, cv2.COLOR_BGR2RGB))
OpenCV reads images in BGR format, so cv2.cvtColor is used to convert BGR to RGB before displaying with Matplotlib.
Step 4: Load MobileNetV2 model
mobile = tf.keras.applications.mobilenet_v2.MobileNetV2()This loads a pre-trained MobileNetV2 model with ImageNet weights. The model can classify images into ImageNet categories without training from scratch.
Step 5: Preprocess image for prediction
resized_img = image.img_to_array(img)
final_image = np.expand_dims(resized_img, axis=0)
final_image = tf.keras.applications.mobilenet.preprocess_input(final_image)
print(final_image.shape)
The image is converted into an array, expanded to create a batch of one image, and normalized using MobileNet preprocessing. The final shape should be (1, 224, 224, 3).
Step 6: Predict and decode ImageNet classes
predictions = mobile.predict(final_image)

from tensorflow.keras.applications import imagenet_utils
results = imagenet_utils.decode_predictions(predictions)
print(results)

Best_Prediction = [item[0] for item in results]
final_PredictedClass = [item[1] for item in Best_Prediction]
print(final_PredictedClass)
The model output is decoded into readable class names. In your notebook, the rooster image was predicted as cock with confidence around 95.69%.
Download source code
Use this area to provide the complete source code, GitHub repository, Google Drive ZIP, notebook, dataset, or premium download link.
Download Notebook / Source Code