
Overview
This tutorial is based on your uploaded Jupyter notebook Final_notes_for_Tutorial.ipynb. It demonstrates how to use DeepFace for emotion prediction, OpenCV Haar cascades for face detection, and cv2.putText/cv2.rectangle for displaying emotion labels and bounding boxes on images. You can later replace the example images and code with your final video, results and cleaned implementation.
data/tutorials.ts. Change the title, text, images, Python code, YouTube link, and download link there.What you will learn
- Read facial images with OpenCV
- Convert BGR images to RGB for correct display
- Use DeepFace.analyze to detect dominant emotion
- Detect faces using OpenCV Haar cascade
- Draw bounding boxes and emotion labels on the image
- Extend the logic to webcam/video-based emotion recognition
Suggested tutorial flow
Import libraries
Import OpenCV, DeepFace and Matplotlib for image loading, emotion analysis and visualization.
Analyze emotion with DeepFace
Run DeepFace.analyze on an input image and extract the dominant emotion.
Detect face with OpenCV
Use cv2.CascadeClassifier and detectMultiScale to locate faces in the grayscale image.
Draw output on image
Draw bounding boxes with cv2.rectangle and emotion text with cv2.putText.
Webcam extension
Use the same logic in a video loop for live facial emotion recognition.
Text explanation template
Introduction
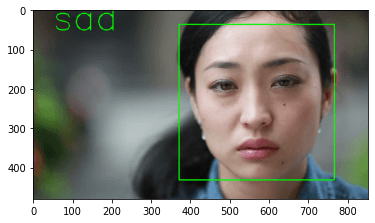
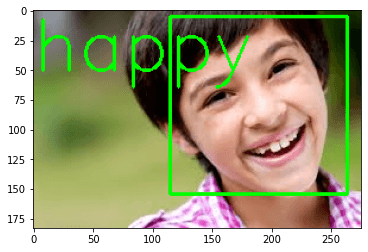
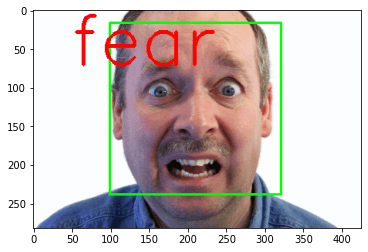
This tutorial explains facial emotion recognition using DeepFace and OpenCV. The uploaded notebook analyzes images such as happyboy.jpg, sad_women.jpg and feared_man.jpg, predicts dominant emotions and overlays the result on the image.
The current page uses actual result screenshots extracted from your notebook. You can later replace them with final polished screenshots or video frame outputs.
Required libraries and setup
The notebook uses OpenCV for reading images, face detection and drawing labels. DeepFace is used for emotion analysis, while Matplotlib is used for visualization inside the notebook.
- opencv-python or opencv-contrib-python
- deepface
- matplotlib
- tensorflow backend used by DeepFace
Notebook workflow
The workflow starts by reading an image with cv2.imread, converting BGR to RGB for correct display, running DeepFace.analyze, detecting faces using Haar cascade and finally drawing the dominant emotion on the image.
- Load image
- Run DeepFace emotion analysis
- Extract dominant_emotion
- Detect face bounding box
- Draw rectangle and emotion text
- Display final result
Actual results from notebook
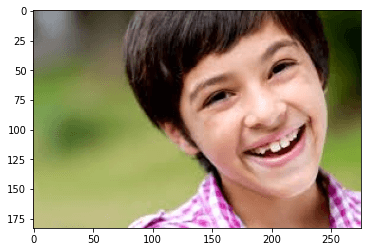
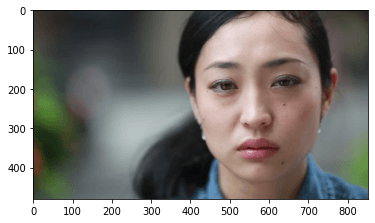
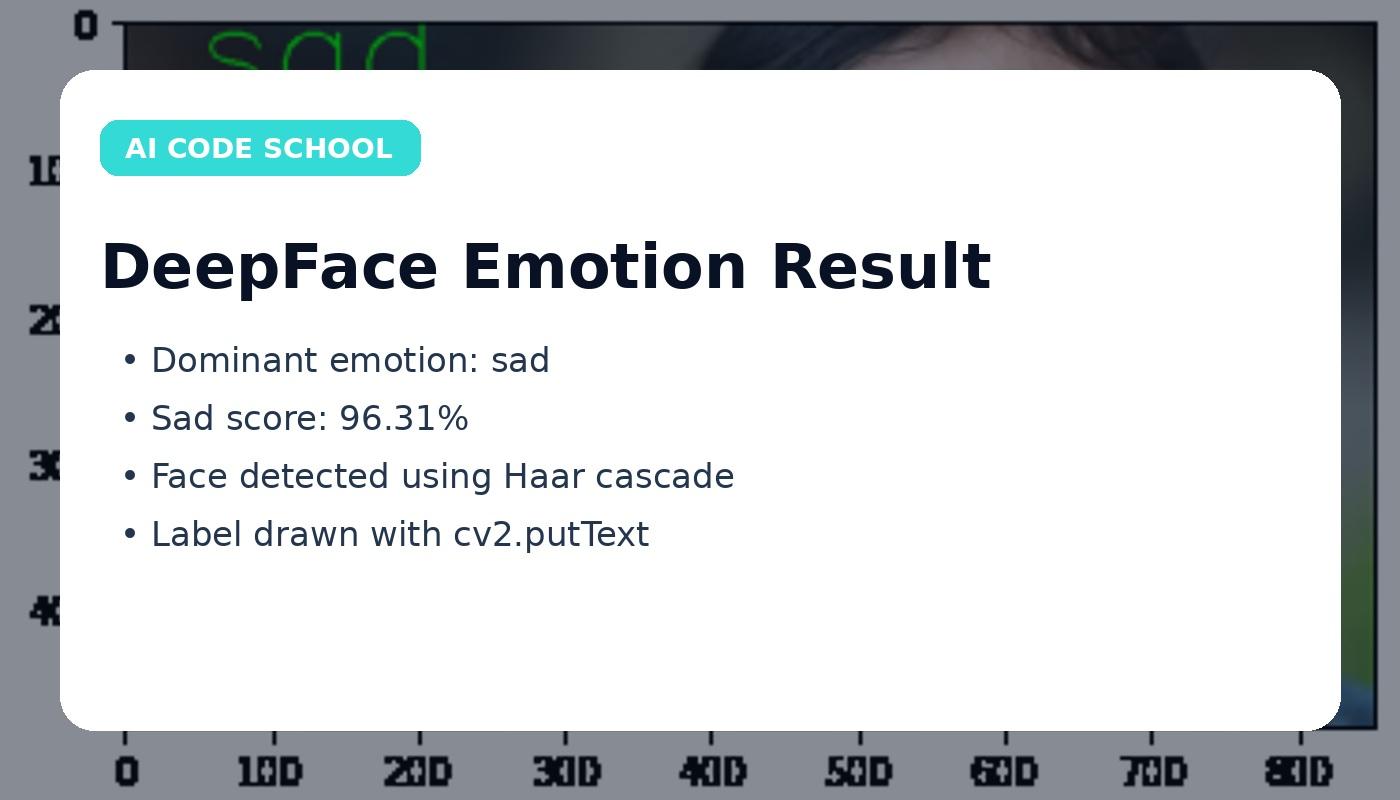
The notebook predicted happy for the happy boy image, sad for the sad woman image and fear-related emotion for the feared man example. The sad woman example produced a dominant sad score around 96.31%.
- Happy example: dominant emotion happy
- Sad example: dominant emotion sad
- Sad score shown in notebook: approximately 96.31%
- Output labels are drawn using cv2.putText
How to update this page later
Replace the sample images with your final screenshots under public/images/tutorials/results/. Replace the code blocks with your cleaned final implementation. Update the download ZIP and YouTube video link when your final tutorial video is ready.
Images, screenshots and results
Add your result screenshots, graphs, model outputs, detected objects, confusion matrices, or interface snapshots here.
Python code explanation
Use one or more code blocks. After each block, explain what the code does in simple teaching language.
Step 1: Import OpenCV and DeepFace
import cv2  # pip install opencv-python
# pip install opencv-contrib-python  # full package if needed

from deepface import DeepFace  # pip install deepface
import matplotlib.pyplot as plt
This imports the libraries used in the notebook. OpenCV handles image loading, face detection and drawing. DeepFace performs emotion analysis.
Step 2: Read and display an image correctly
img = cv2.imread('happyboy.jpg')
plt.imshow(cv2.cvtColor(img, cv2.COLOR_BGR2RGB))
OpenCV loads images in BGR format, so we convert to RGB before displaying with Matplotlib. This avoids wrong colors in the notebook output.
Step 3: Analyze emotion using DeepFace
predictions = DeepFace.analyze(img, actions=['emotion'])
print(predictions)
print(predictions['dominant_emotion'])
DeepFace.analyze returns emotion scores and a dominant emotion. In the notebook, the happy boy image produced dominant emotion happy.
Step 4: Detect face using Haar cascade
faceCascade = cv2.CascadeClassifier(
    cv2.data.haarcascades + 'haarcascade_frontalface_default.xml'
)

gray = cv2.cvtColor(img, cv2.COLOR_BGR2GRAY)
faces = faceCascade.detectMultiScale(gray, 1.1, 4)

for (x, y, w, h) in faces:
    cv2.rectangle(img, (x, y), (x + w, y + h), (0, 255, 0), 2)
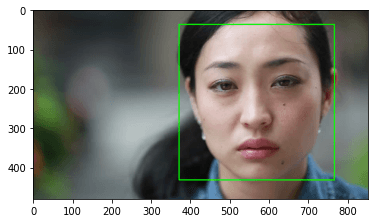
The image is converted to grayscale, faces are detected using detectMultiScale, and a green rectangle is drawn around each detected face.
Step 5: Write emotion label on the image
font = cv2.FONT_HERSHEY_SIMPLEX

cv2.putText(
    img,
    predictions['dominant_emotion'],
    (50, 50),
    font,
    3,
    (0, 255, 0),
    2,
    cv2.LINE_4
)

plt.imshow(cv2.cvtColor(img, cv2.COLOR_BGR2RGB))
This overlays the predicted emotion label on the image. The notebook uses this method to display labels such as sad and happy on the output image.
Step 6: Webcam/video extension template
cap = cv2.VideoCapture(0)

while True:
    ret, frame = cap.read()
    if not ret:
        break

    # predictions = DeepFace.analyze(frame, actions=['emotion'], enforce_detection=False)
    # emotion = predictions['dominant_emotion']
    # draw face box and emotion label here

    cv2.imshow('Facial Emotion Recognition', frame)
    if cv2.waitKey(1) & 0xFF == ord('q'):
        break

cap.release()
cv2.destroyAllWindows()
This is the structure for extending the image-based notebook to webcam or video. You can replace the comments with the same analysis, face detection and drawing logic.
Download source code
Use this area to provide the complete source code, GitHub repository, Google Drive ZIP, notebook, dataset, or premium download link.
Download Notebook / Source Code